Mac file sharing is a convenient way to share documents, photos, and other files between different Macs or with users on a Windows network. However, like any technology, it can sometimes encounter issues that prevent it from working as expected. If you’re experiencing Mac file-sharing problems, don’t worry; you’re not alone. In this blog, we’ll explore common Mac file-sharing issues and provide solutions to help you get your file-sharing back on track.
Part 1: How to Fix Mac File Sharing Not Working
When file sharing is not working on Mac and you’re experiencing connection issues, you can follow these steps to diagnose and resolve the problem:
Check Network Connectivity
Before delving into more complex solutions, it’s essential to ensure that your Mac is properly connected to the network. If you’re using Wi-Fi, make sure you have a strong and stable connection. If you’re using Ethernet, verify that the cable is securely connected. Sometimes, network issues can cause Mac file sharing to fail.
Verify Sharing Preferences
To enable file sharing on your Mac, you need to configure your sharing preferences correctly. Go to System Preferences > Sharing and make sure that the File Sharing option is selected. You can also configure the specific folders you want to share in this section. If the issue persists, try disabling and re-enabling File Sharing.
Check Firewall and Security Settings
Firewalls and security settings can sometimes block file sharing connections. To resolve this, navigate to System Preferences > Security & Privacy > Firewall and ensure that “Block all incoming connections” is not selected. Also, check the settings in your third-party security software, if any, to make sure they aren’t hindering file sharing.
Ensure You Have the Right Permissions
If you’re trying to access files on another Mac or share your files with other users, it’s important to ensure that the appropriate permissions are set up. Go to the shared folder’s Info panel (Command+I) and adjust the sharing permissions to allow the necessary users or groups access.
Use the Correct Sharing Protocols
Mac supports various file sharing protocols, including SMB, AFP, and FTP. Sometimes, the protocol you’re using may not be compatible with the devices you’re trying to share with. Consider switching to a different protocol, especially if you’re trying to share with Windows PCs, which often work better with SMBs.
Check for DNS Issues
Domain Name System (DNS) issues can affect network connectivity, which in turn can disrupt file sharing. Verify that your Mac’s DNS settings are configured correctly. You can do this by going to System Preferences > Network > Advanced > DNS.
Restart Your Mac
Sometimes, a simple restart can resolve file sharing issues. Restart your Mac and try sharing files again to see if the problem is resolved.
Update macOS
Outdated software can lead to compatibility issues. Ensure your Mac is running the latest macOS version and that all relevant software updates are installed. Apple often releases updates that include bug fixes related to file sharing.
Reset Your File Sharing Settings
If all else fails, you can try resetting your file sharing settings. To do this, go to System Preferences > Sharing, and uncheck File Sharing. Then, re-enable it and set up your sharing preferences again.

Part 2: Quick Solve Broken File Sharing on Mac Devices
If you’re experiencing issues with broken file sharing on Mac devices, you can try the following steps to troubleshoot and resolve the problem:
Check Network Connectivity: Ensure that both the sender and receiver devices are connected to the same network, as file sharing typically relies on local network connections.
Restart Devices: Sometimes, a simple restart can resolve network-related issues. Restart both the sending and receiving Macs.
Verify File Sharing Settings: Make sure that file sharing is enabled on both Macs. To check this: Go to “System Preferences” > “Sharing” on both devices. Ensure that “File Sharing” is selected and that the appropriate folders or drives are shared.
Check Permissions: Ensure that the folders you want to share have the correct permissions. You can do this by selecting the folder, right-clicking, and choosing “Get Info.” In the Info window, make sure the correct users have “Read & Write” or appropriate permissions.
User Accounts: Ensure that both Macs have the same user accounts with the same usernames and passwords. This can help in the authentication process.
Firewall and Security Software: Check if any firewall or security software is blocking file sharing. Adjust firewall settings to allow file sharing traffic. You can do this in “System Preferences” > “Security & Privacy” > “Firewall.”
Finder Preferences: In Finder, go to “Finder” > “Preferences” and make sure that “Connected servers” is checked. This will show connected servers in the Finder sidebar.
Network Discovery: Make sure that network discovery is enabled on both Macs. This is typically found in the “Advanced” network settings within the Network preferences.
Verify File Paths: Double-check the file paths you’re using. Ensure you’re using the correct network path (e.g., smb:// or afp://) when trying to connect to shared folders.
Reset SMC and PRAM: Sometimes, resetting the System Management Controller (SMC) and Parameter RAM (PRAM) can help with various system-related issues. Instructions for doing this can be found on Apple’s official support website.
Update macOS: Ensure that both Macs are running the latest version of macOS. Updating to the latest version can resolve compatibility issues.
Third-Party File Sharing Apps: If you’re using third-party file sharing apps, ensure they are up-to-date and compatible with your macOS version.
Contact Apple Support: If the issue persists, consider reaching out to Apple Support for more advanced troubleshooting and assistance.
By following these steps, you should be able to resolve most common file sharing issues on Mac devices. If the problem persists, it’s a good idea to check for specific error messages and provide those details when seeking further assistance.

Part 3: Free up Storage Space using Mac Cleaner
Using Mac Cleaner is a valuable strategy for reclaiming precious storage space and optimizing your system’s performance. This process can simplify the cluttered digital landscape of your Mac by efficiently identifying and eliminating unnecessary files. By following a few straightforward steps, you can enjoy a cleaner and more efficient Mac experience.
Choosing the Right Mac Cleaner Tool:
To embark on this storage-saving journey, you must select a reliable Mac cleaner tool. The market offers a diverse range of options, from free to paid software solutions. Notable choices include renowned applications like CleanMyMac, CCleaner for Mac, and Mac Cleaner. Opt for the one you trust the most, and download and install it onto your Mac.
Once the chosen cleaner tool is securely installed on your Mac, proceed to launch the application. This step marks the beginning of your quest to declutter and optimize your system.
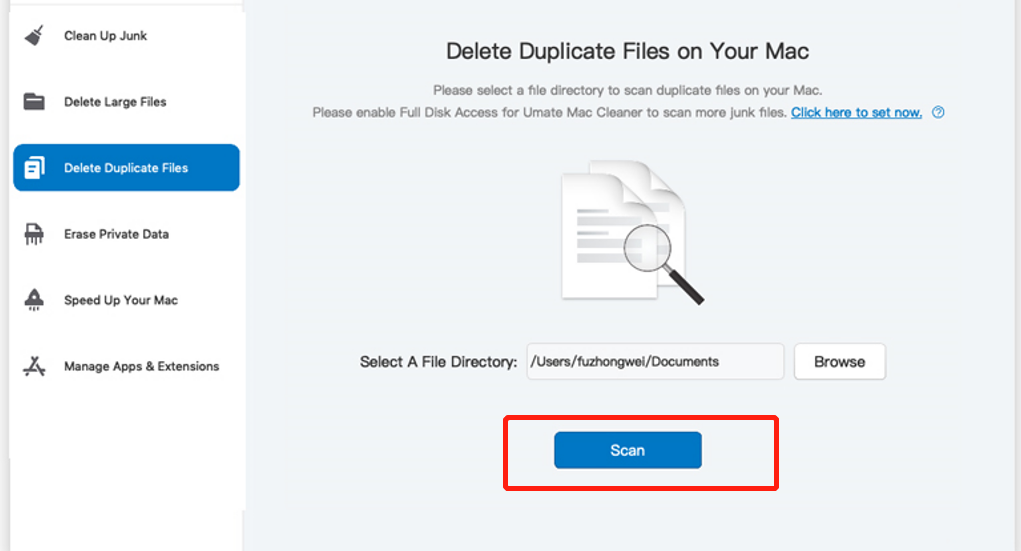
Scanning Your Mac:
Most Mac cleaner tools feature a “Scan” or “Start” button, serving as the catalyst for the analysis of your Mac’s storage. By clicking this button, your Mac cleaner tool will diligently scrutinize your system’s files and folders, identifying redundant and unnecessary items.
Reviewing Scan Results:
Upon completing the scan, the Mac cleaner tool will present you with a comprehensive list of files and categories that could benefit from a cleanup or optimization. Exercise caution and carefully review these results before proceeding. The common categories typically include:
- System Junk: Temporary files, caches, and log files.
- Large Files: Bulky files that you may no longer need.
- Duplicate Files: Identifying and removing file duplicates.
- Unwanted Apps: Uninstalling applications you no longer use.
- Mail Attachments: Removing email attachments to free up space.
- Trash Bins: Emptying the Trash and removing deleted files.
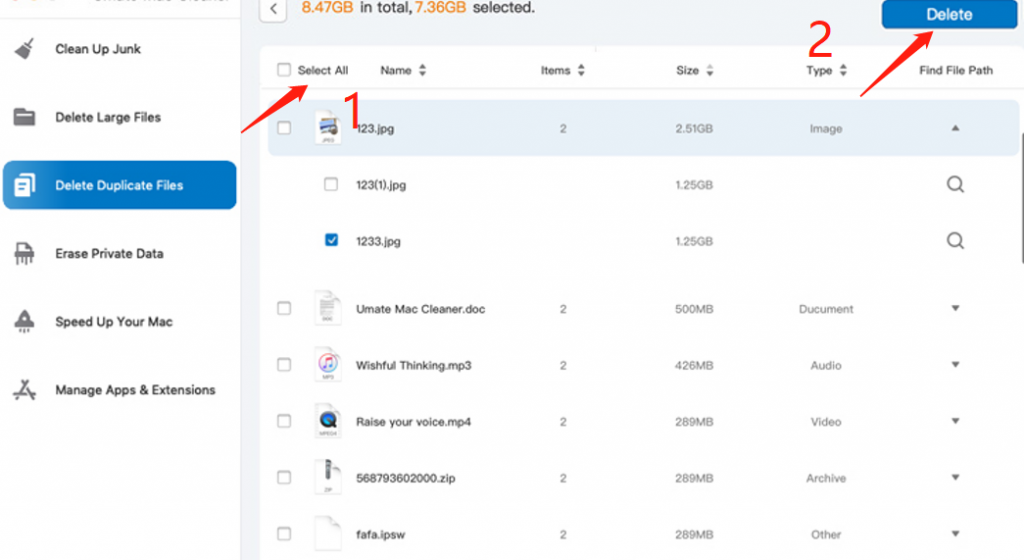
Selecting Files to Clean:
Within the Mac cleaner tool’s interface, you’ll have the opportunity to select the files you wish to clean. This is accomplished by checking the boxes next to the relevant categories or files that you want to remove.
Cleaning or Optimizing:
With your selections made, click the “Clean” or “Optimize” button to initiate the removal of the selected files. Some tools may request confirmation before proceeding. Upon completion of the cleaning process, take a moment to review the changes made and confirm the removal of the selected files. A double-check is vital to prevent unintentional deletion of critical files.
Advanced Settings (Optional):
Explore advanced settings and customization options provided by some cleaner tools for fine-tuning the cleaning process, should you desire greater control over the process. As a supplementary step, manually uninstall the applications you no longer require. Navigate to the “Applications” directory in Finder and drag unwanted applications to the Trash. After utilizing the cleaner tool and manually removing files, remember to empty the Trash to permanently reclaim your storage space.
Exercise caution when using cleaner tools, always back up your important data before initiating cleanup actions, and opt for reputable and well-reviewed Mac cleaner tools to ensure system safety and stability. This comprehensive approach to freeing up storage space using a Mac cleaner tool will make your Mac cleaner, faster, and more efficient.
Conclusion
Mac file sharing is a powerful feature, but like any technology, it can sometimes encounter hiccups. When you’re faced with Mac file sharing issues, it’s essential to follow a systematic troubleshooting approach. By checking network connectivity, verifying sharing preferences, examining security settings, ensuring the right permissions, and exploring different protocols, you can often resolve the problem.
If all else fails, remember that a simple restart or updating your Mac’s software can do wonders. By following these steps, you’ll be well on your way to fixing your Mac file sharing woes and getting back to seamlessly sharing files with your network.